

Are you Bored off by seeing regular text in Termux...


Then, Follow this tutorial to customize your starting text in termux.

First we need to remove our regular text >>

To remove this text follow this:
Step 1:
We need to install nano which is the text editor for termux. In this tutorial we use nano to edit the termux autorun file (bashrc).
pkg install nano

Step 2:
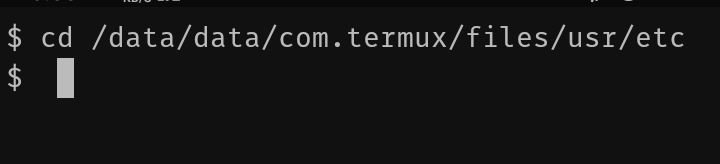
Change directory to the etc folder.
cd /data/data/com.termux/files/usr/etc

Step 3:
Edit the bash.bashrc file using nano.
nano bash.bashrc
Step 4:
1. Move the cursor to the end of the line and type clear.
2. Press CTRL + X
3. Press Y then ENTER

Step 5:
Restart your termux, now you will see clear terminal.

Now we have to add cool header text!!
Now we are going to add header like below image. Where you will see some system configuration and Android logo.

Step 6:
We need to install "Neofetch" which we will use to print the header.
pkg install nano neofetch

Step 7:
Change directory to etc folder.
cd /data/data/com.termux/files/usr/etc
Step 8:
Edit the bash.bashrc file using nano
nano bash.bashrc
Step 9:
1. Move cursor to the end of the line
2. Type ''neofetch'' below the clear text
3. Press CTRL + X
4. Press y and then ENTER
Step 10:
Restart your termux then you'll be able to see Android logo and some system configuration at the header.


Post a Comment
0 Comments